In my last post, I went over everything you need to do to prepare your walls for stone. If you missed it, you can read all about it here. After everything is ready to go, it’s time to dive in with both feet and start installing the stone! We chose to use cast natural stone veneer from Menards.
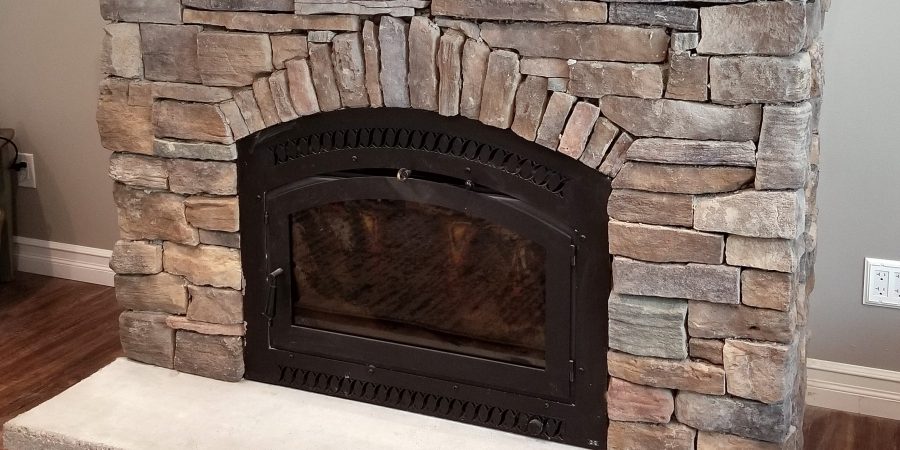
This is where we left off. I will be completely honest with you: It took us a couple of weeks to move from the preparation stage to the finishing stage, so the scratch coat was more than ready to accept stone.
The first thing you want to do is get a basic plan in place. I laid out an old blanket and sorted the stones into piles according to color.

I typically build things in my head about 100 times before I take any action, but this was about the extent of my planning this time. Some people would say you should measure and lay out each stone in a pattern to ensure everything is going to fit together properly. That is good advice, but that is super duper not what happened in my house. So… we mixed a bucket of mortar.

The consistency of peanut butter is typically the goal when you’re mixing mortar. I like to pretend I’m a rebel and mix it just a little bit soupier. It creates a bigger mess, but it makes me feel better when I start sticking them on the wall. You have to make sure that while you’re applying the mortar to the back of the stones, you goop it on there in such a way that there are grooves. Then, when you push the stone onto your previously prepared scratch coat, a tiny vacuum occurs and the stone is much happier to stay where you put it. Use firm pressure and hold the stone for a few seconds to ensure it makes a strong bond.

We picked a corner and began installing the stones. I did my best to stagger them in such a way that no two stones of the same length ended up next to each other. It would bother me for all eternity.

This literally took like 10 minutes, and I couldn’t wait to get the rest installed! After both corners were up and drying, we actually did take a step back to plan the way the stone would arch around the top of the fireplace. Once we both agreed on a final appearance, we used the same technique to install them the stones. I want to note that instead of covering the fireplace with plastic or using tape, I opted to just continuously wipe it down with a wet cloth to keep the mortar drips from ruining it. The last time we attempted to cover it, we did more damage because the tape actually pealed off the paint.

We left those alone to set up a little bit, maybe 20 minutes or so, and then came back to start filling in the empty space. In the photo below, you can see we didn’t pay much attention to the mortar that is squeezing it’s way out from between the stones. That is something you can worry about later. I wouldn’t suggest letting it dry completely because then you need to use a chisel and hammer to remove it, but going back over the cracks with a wire brush gets the bigger chunks out while the mortar is still malleable. You probably don’t want to use your finger, because it gives the cracks a weird kind of smeared look. I mean, maybe you do want that and that’s okay. I opted for the brush. You can also see where the tape took the paint off the fireplace. Yikes.

This is where things started to get a bit more complicated. The angle of the stones in the arch weren’t making neat little corners anymore so we couldn’t fly through it like we were in the beginning. We did our best to avoid cutting any of the stones because it created sharp, unnatural looking edges. So it took us a little while longer to get over the hump.

There was a lot of trial and error, a few unhappy glances, we were both throwing eyebrows, (yes, we do that here) and I’m pretty sure at one point my husband said, “I don’t care I’m going to bed.”

You can see where the stone is going to abruptly stop once it gets around the corner about 14 inches. That is because we are leaving space for built-in bookcases to go there in the future.

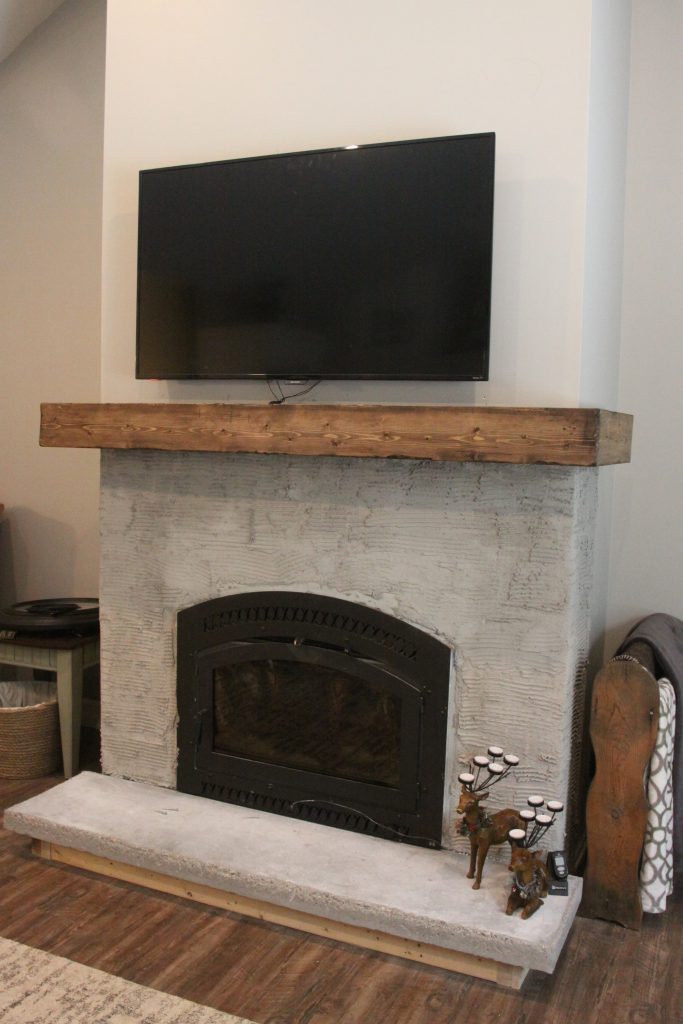
We did make it to the top though! I am really impressed with how it all came together! We were lucky that we had multiple stones that filled in the top nicely without interfering with the mantel. I believe there was only one that we had to rip with the grinder because it was just too wide and I really needed that particular color to go right there.

I’m very proud of this fireplace considering we spent under $300 to do the entire thing – including the stone, the mantel, the hearth and all of the random other materials we needed to get the job done.
Later on we may decide to fill in some of the larger cracks, but it’s totally optional. Some people prefer the dry stacked look better anyway. I think I like the shadows and depth it’s creating, so for now we’re going to leave it this way. What do you think?