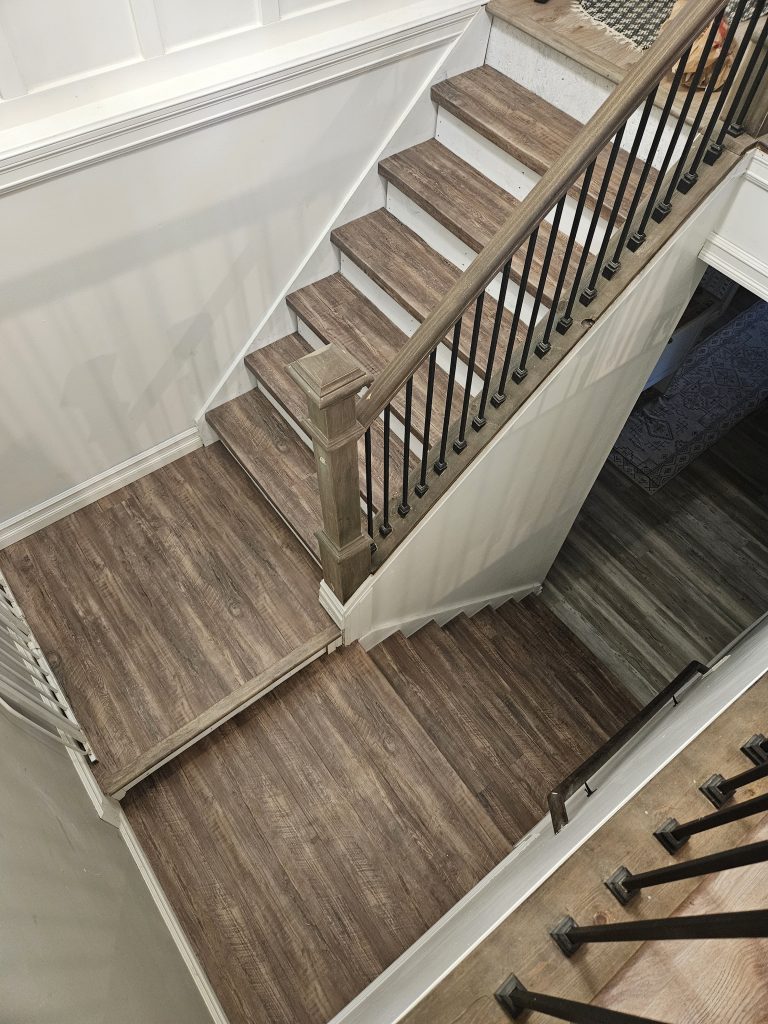
My husband and I decided that we no longer wanted any carpet in the house. After removing all of the carpet from the bedrooms, the only carpet left was on the stairs leading to our basement. We spent a pretty penny replacing all of the flooring on the main level (because I liked the flooring we installed in the bedrooms so much!). When it was time to tackle the stairs, we went back and forth about what we wanted to do. Our stairs were clearly made to be covered in carpet. The landing was made of OSB, so I immediately knew that sanding and staining wasn’t going to work.
I didn’t want to purchase any more flooring. After checking the prices of stair-nose LVP (Luxury Vinyl Plank) flooring, I was certain I didn’t want to spend any more money. We had about 1100 square feet of LVP that we had carefully torn out to repurpose in our storage room. That’s when I got the bright idea to make my own stair-nose planks out of the LVP that was previously used on the main floor.
Fair warning – I didn’t clean anything up to glamorize these pictures. You’re getting the nitty-gritty, messy, all-up-in-my-brain, full work-mode pictures.
The very first thing that happened is I forgot to take a “before” picture. I keep telling myself I’ll be better about this, but I never do. I just dive right in. So I’ll show you what I ended up with, and you can decide if you want to do the same!
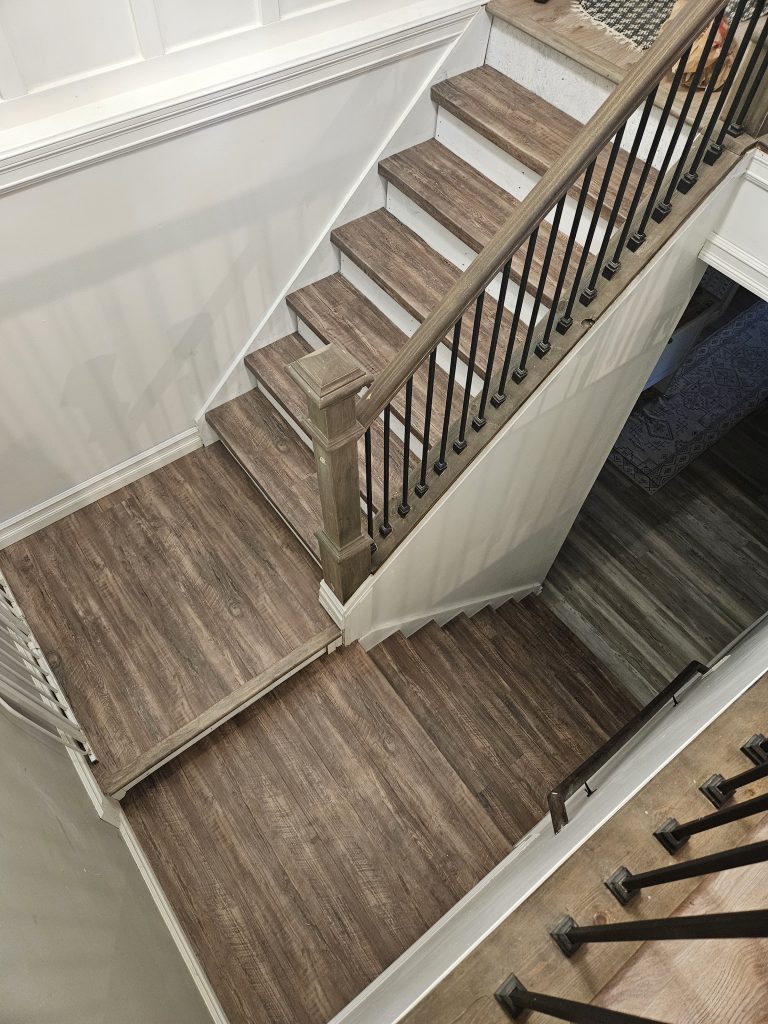
To start this project, you have to remove all of the carpet, nails, tack strips, staples, dirt and debris from the stairs.
The next thing you have to do is figure out how much each plank of LVP is going to wrap around each step. So, you have to measure everything. My stairs were built with 2×12’s, and I needed about an inch to wrap around the front of the step to create the stair nose.
I took a full length piece of LVP and laid it on my foam board upside down to prepare it for cutting. This is how cheap I am, folks. I don’t own a table saw, but that would’ve made my life infinitely easier. I set the depth of my skil-saw so that the blade would only cut the backing off of the LVP. The only way I could figure out how to bend the LVP is by removing the backing. By making these cuts, it also allowed me to bend them at 90-degree angles.
I measured 1-1/4 inches from the front edge of the plank and made a line. Then I measured 3 inches from the front edge and made a second line.
Let me show you.
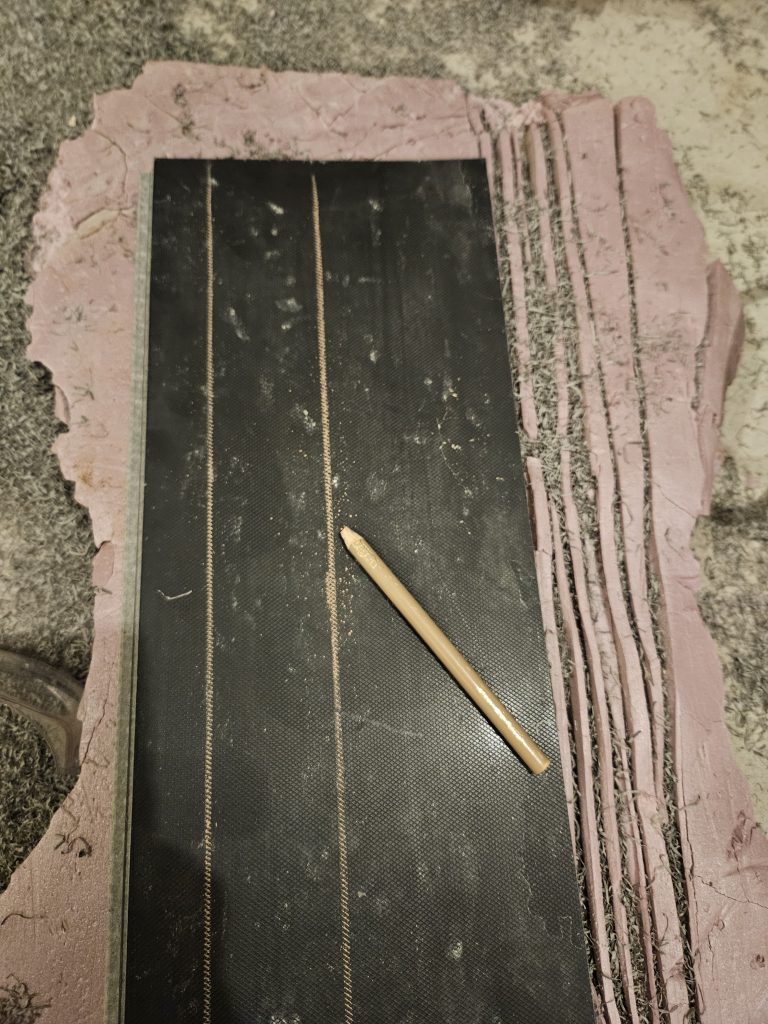
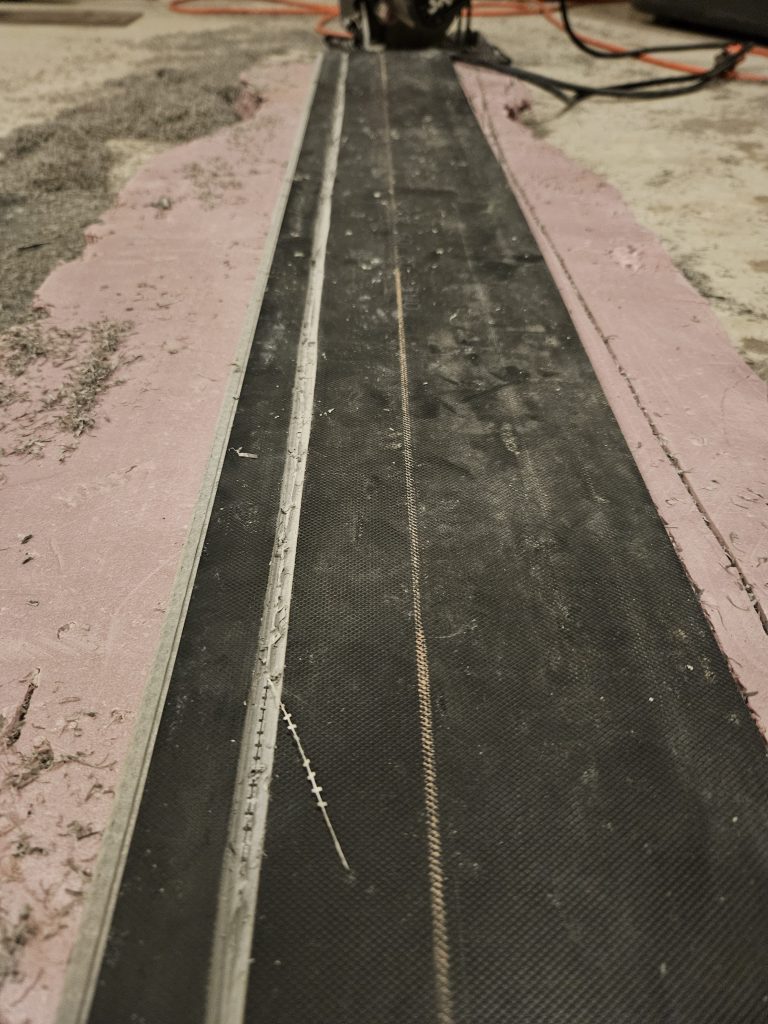
Then I ran the skil-saw along those lines three times, one right next to each other toward the back of the plank.
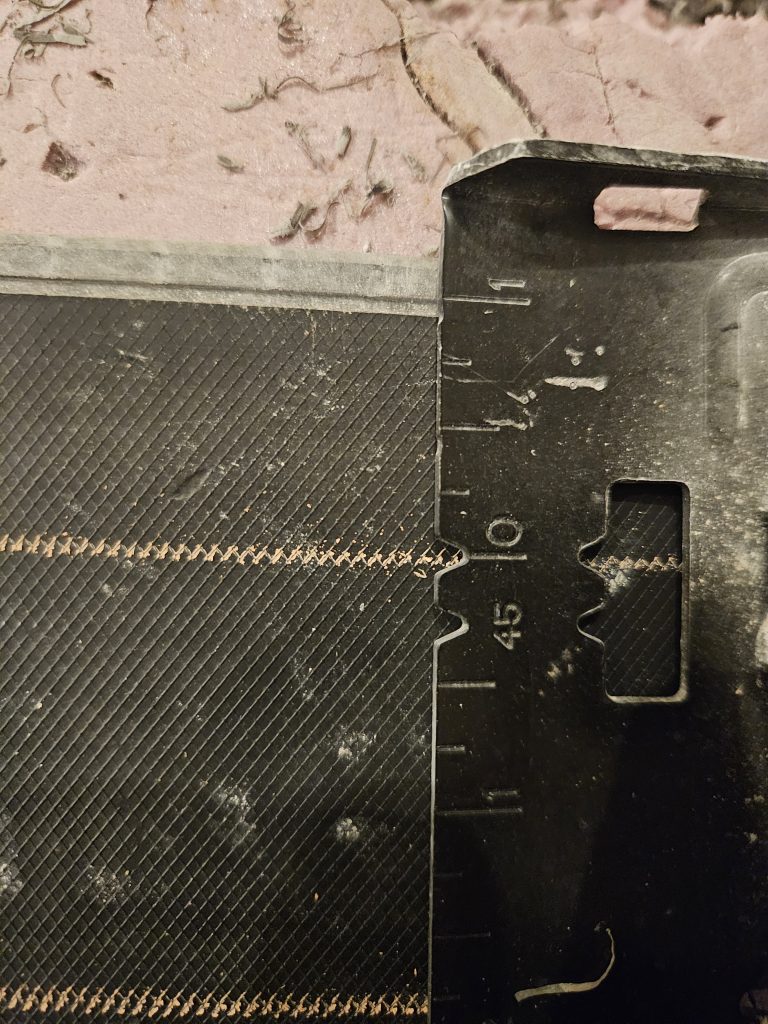
It ended up being ok that the cuts were a little sloppy. Accuracy is helpful, but not essential. The first cut went right on the line, the full length of the plank. The second cut went right next to the first one.
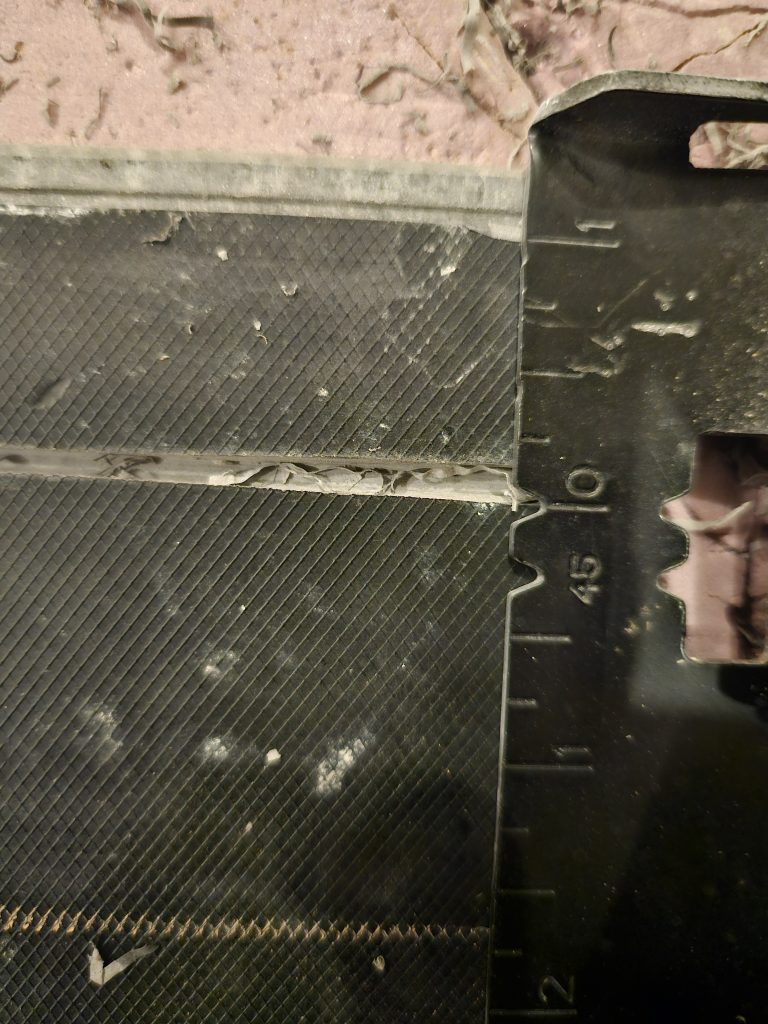
Because I am too stubborn to go buy a table saw and use a fence, the sloppiness of these cuts sometimes left a little sliver behind. I just dug that out with a screwdriver and moved on with my life.
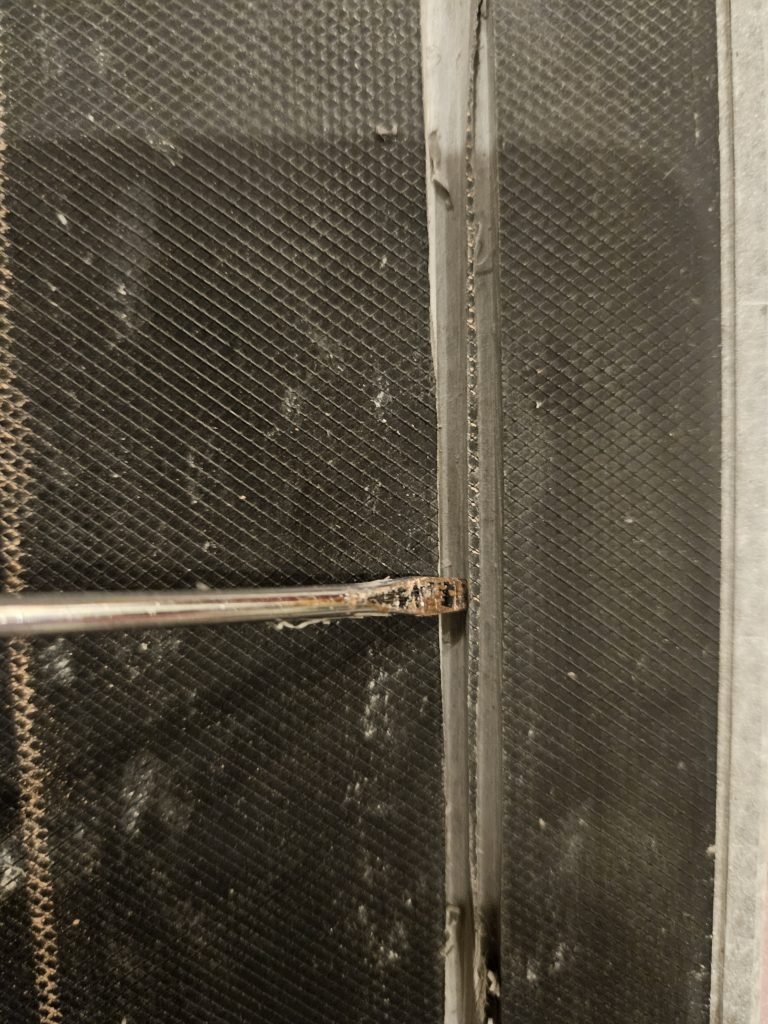
So after I made the first set of cuts, it looked like this:
And after both of the lines were cut out, I had this:
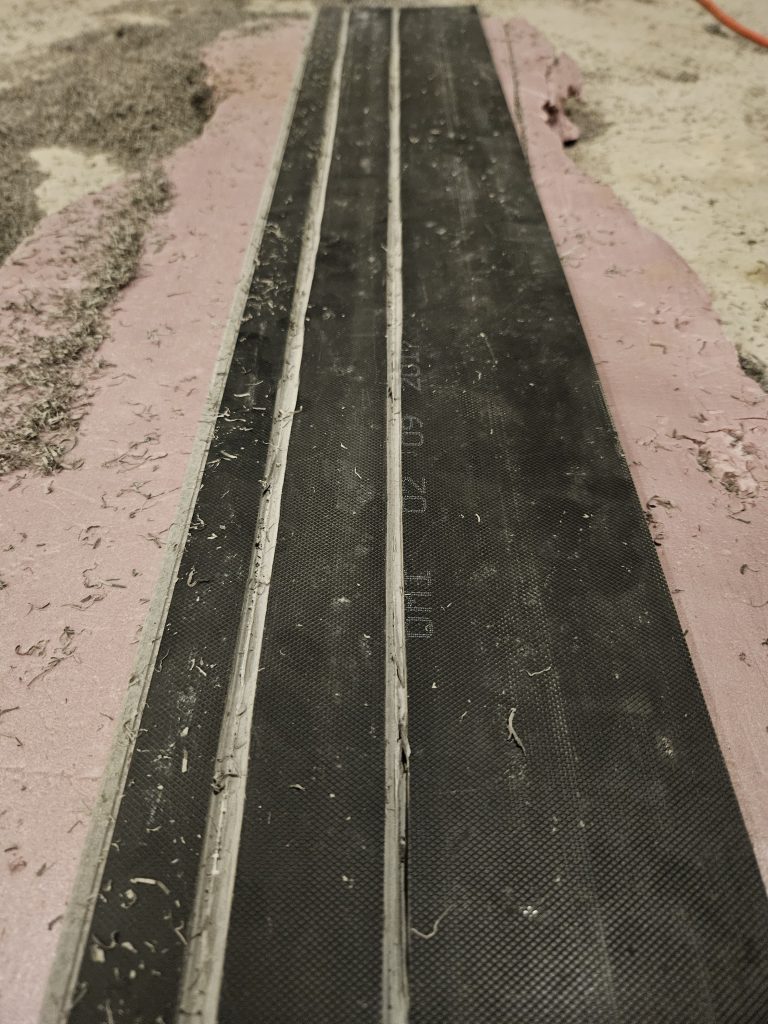
Since the steps on my stairs were made of 2×12’s, I was able to use a scrap 2×6 (or 2×4, whatever you might have laying around) to make sure you created enough space in your cuts to allow for the bending of the LVP.
See how it fits in there with a little bit of space, but will still be snug?
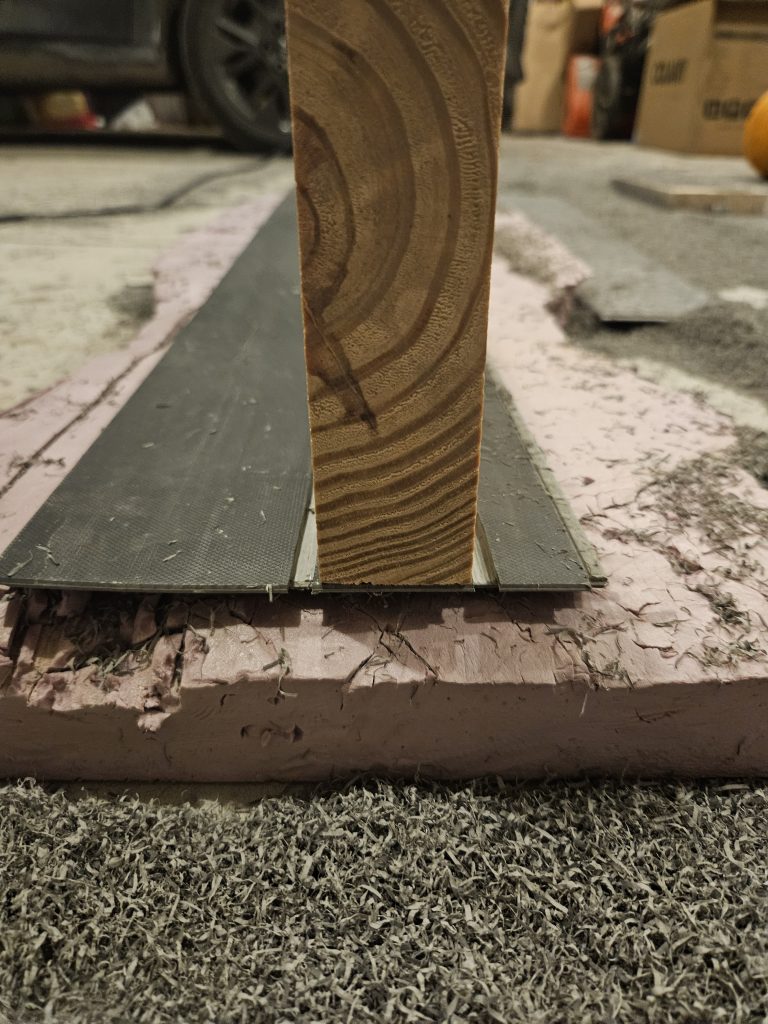
After you have the cuts made, you can cut your plank to the proper length and go back to the stairs.
I used a hairdryer, but I’m sure there are better tools out there. Here I am again, showing my frugality! You HAVE TO use some kind of heat to get the LVP to agree to bend. If you push it too fast or if the LVP is too cold, it will snap. Then you have to go back and do all of this weird cutting again.
So, I placed the plank on the edge of the stairs and heated it up with the hairdryer. I just went back and forth for a few minutes until it was slightly pliable.
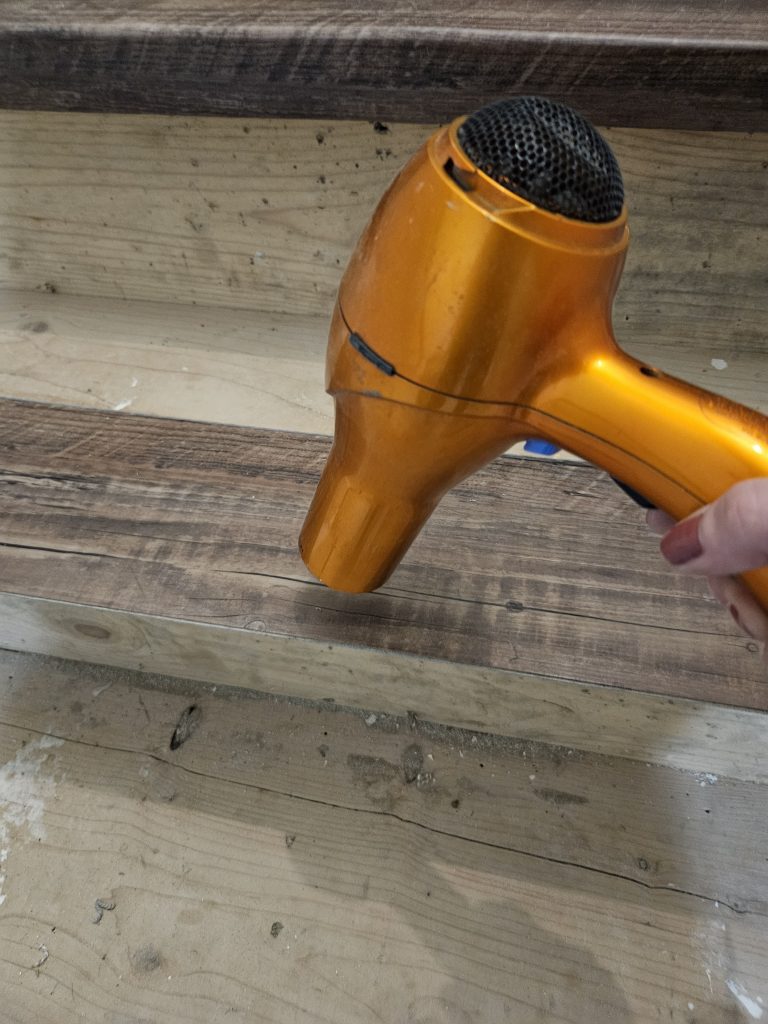
After it felt like it was ok to start bending, I just strong-armed the plank around the front of the step and used clamps to hold it in place. It will fight you. The clamps are your friends.
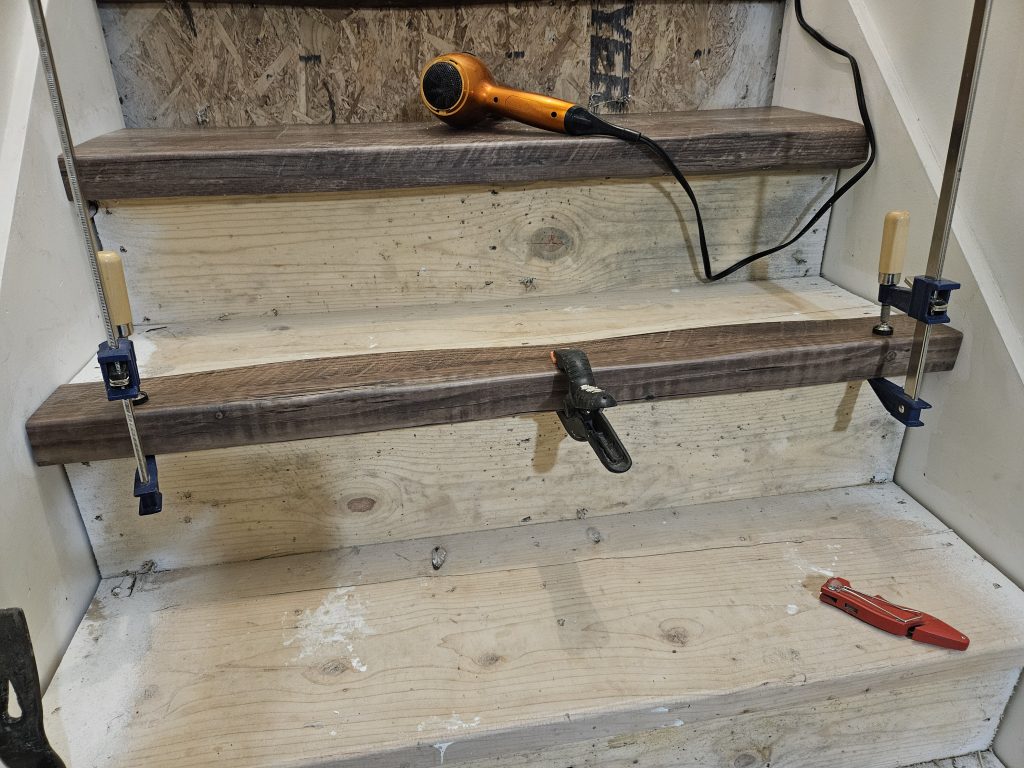
I let it sit there for a few minutes with the clamps while I gathered my adhesive caulk and screws.
Next, I placed four or five screws on the underside of the step to keep it in place. The last thing I wanted was to glue it and one day the glue give out and my entire step come apart.
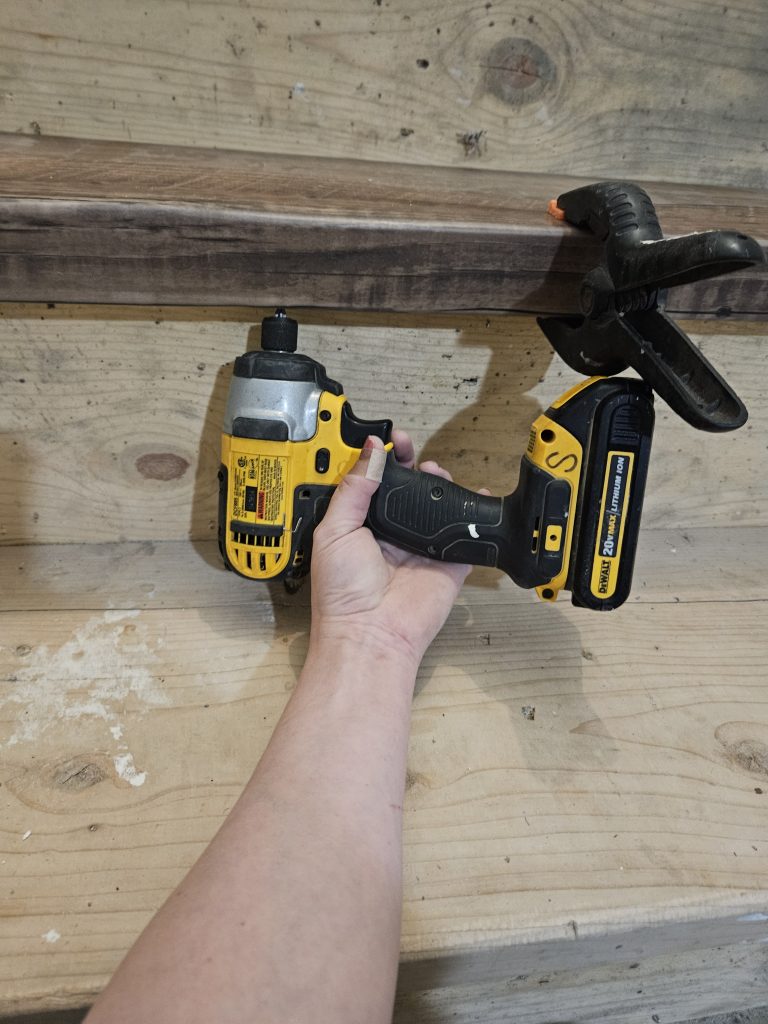
After the screws were in place, I took the clamps off and unfolded the step just enough to apply some Construction Adhesive to the back of the LVP and the top of the wooden step.
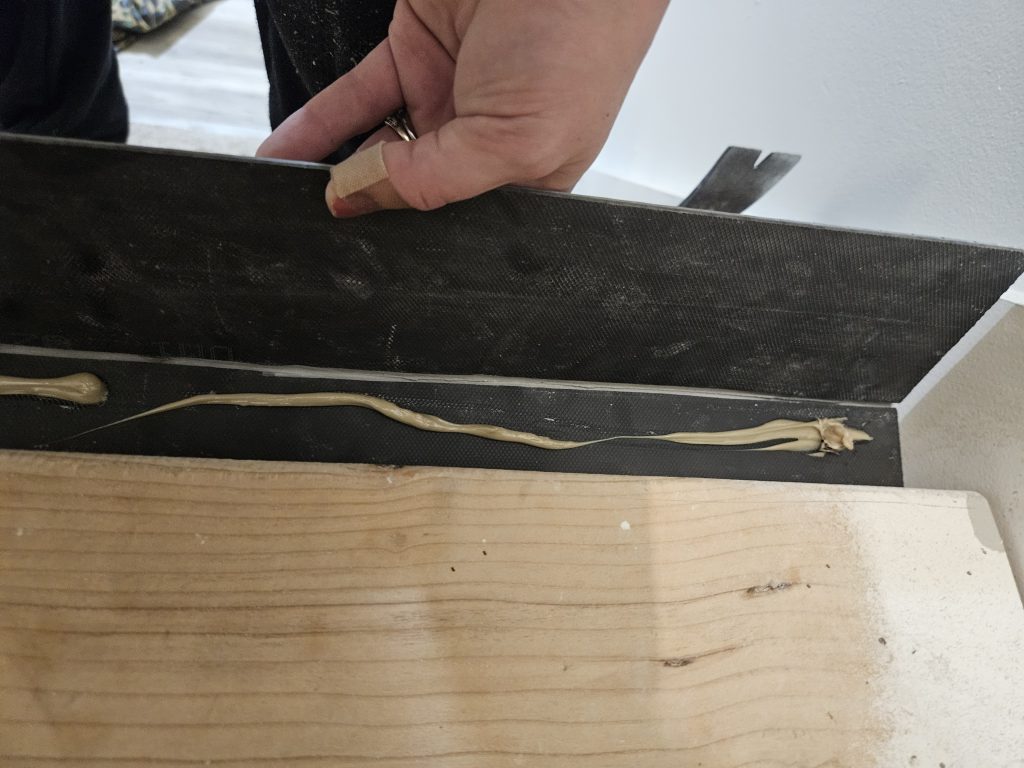
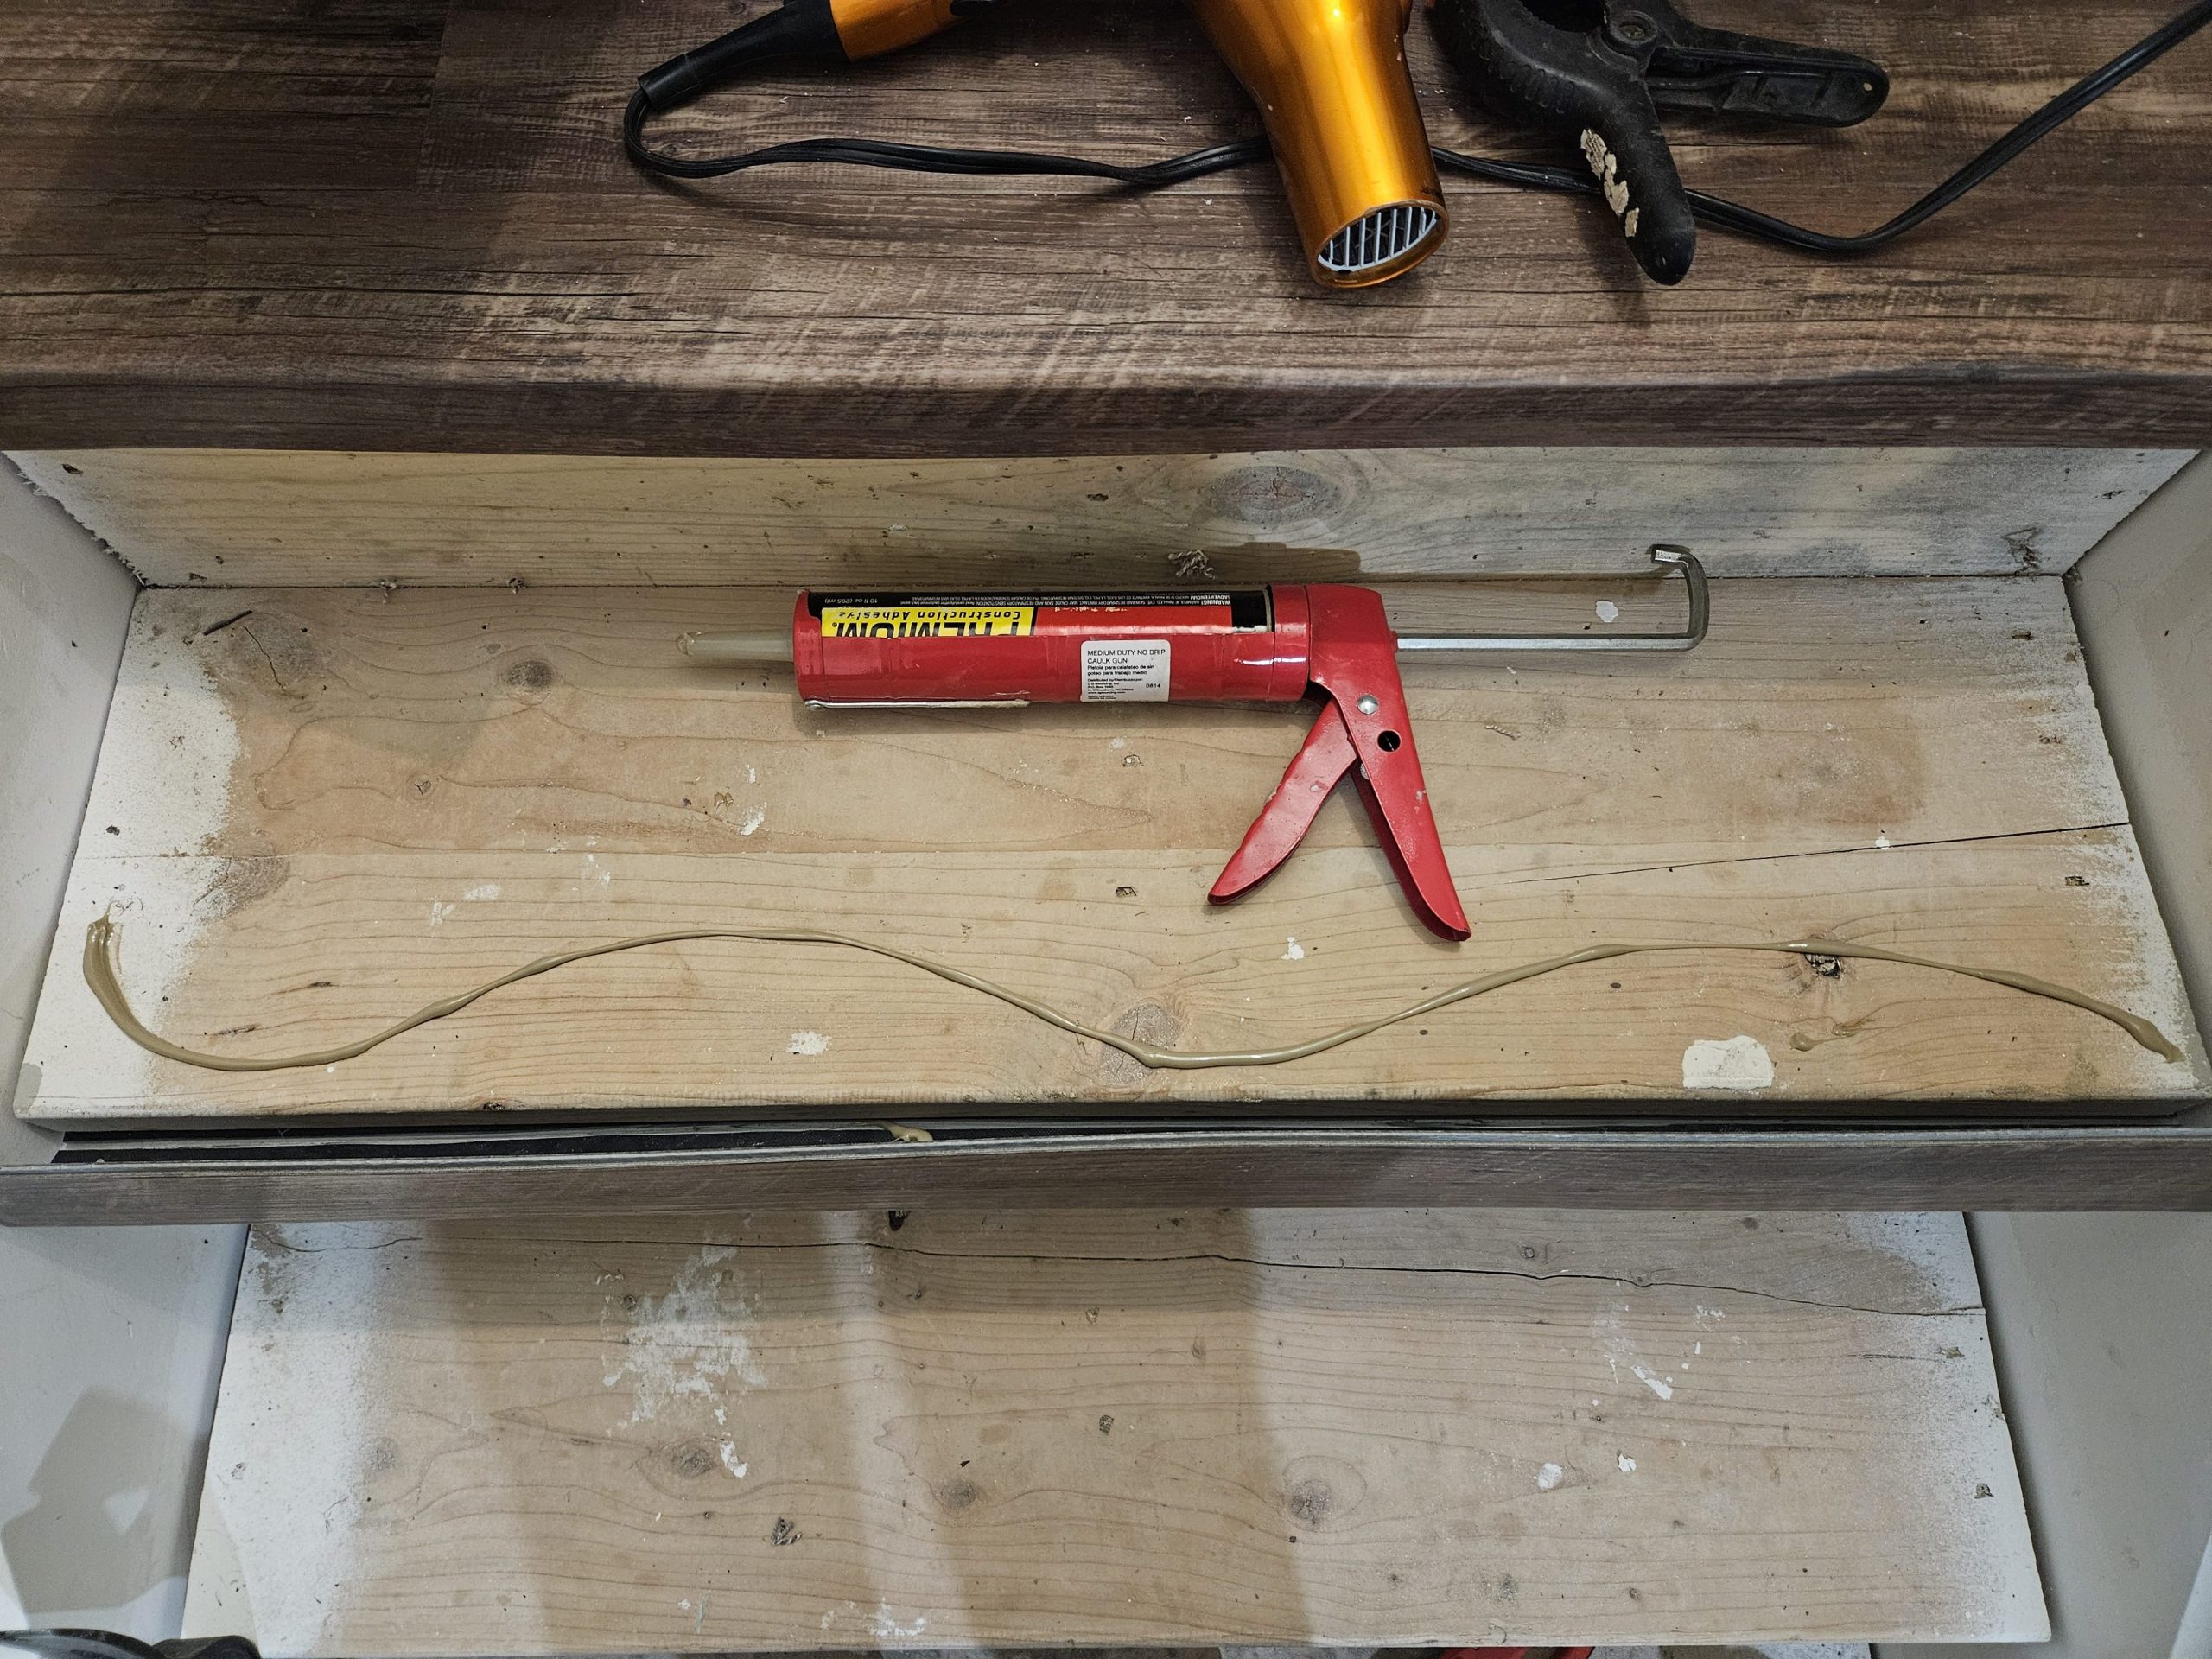
Then, I clamped the step back down onto the glue and threw a bunch of heavy junk on top of the step to hold it down.
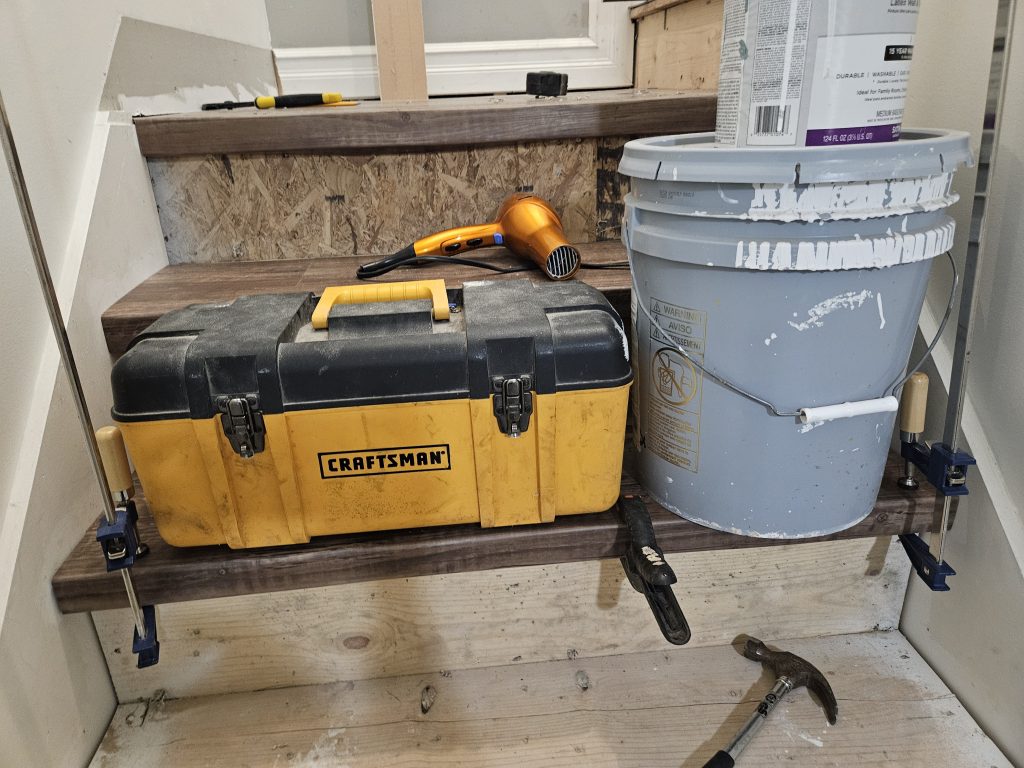
I let it dry and then cut the rest of the LVP planks to finish covering the step to the front of the risers. I glued down everything to ensure none of it was going to come loose. The last thing I need is a reason to fall down the stairs.
My least favorite part was cutting the little tiny strips to fit in front of the risers. I did some of them by hand with a pair of tin-snips, but after a while I used a jig-saw which went much faster.

After all of the LVP was installed, I painted the risers with primer with the intention of letting them be that way for a week of two while I decide what I want the finished product to look like.
There you have it! This took me a few days, but because I repurposed everything, the only cost to this entire project was the price of the construction adhesive. Happy building!
